Python101 Reinstalling Anaconda and VS Code in Windows 10
How do we completely uninstall Conda from Windows 10? And then how do we reinstall an up-to-date Conda to our Windows environment? Here is the way I adopt to achieve these two tasks.
Completely uninstalling Anaconda from Windows 10
In Windows 10 command line interface, run the following commands to completely remove Anaconda:
$ conda install anaconda-clean # install the package anaconda clean
$ anaconda-clean --yes # clean all anaconda related files and directories
$ rm -rf ~/anaconda3 # removes the entire anaconda directory
$ rm -rf ~/.anaconda_backup # anaconda clean creates a back_up of files/directories
After these steps, the usual Conda command conda list shouldn’t respond at all.
Reinstalling Anaconda
Download Anaconda installer for Windows 10 (64-bit).
The version I used for this tutorial is Anaconda3-2021.05-Windows-x86_64.exe. Default Python 3.8 comes with it as a bundle.
Verify MD5 Checksum Keys for Anaconda installer.
Go to Anaconda archive to retrieve the MD5 checksum Key associated with the version of Anaconda you just downloaded. Then press Windows button on your keyboard to run Command Prompt as administrator. Navigate to the directory where the Anaconda installer is located. Then run the following command with the replacement of double quotes with the full filename of the Anaconda installer:
> certutile.exe -hashfile "anaconda-filename" MD5Launch the Anaconda installer.
Double click on the Anaconda installer file icon to launch the interactive setup. When prompted with the Install for options, select Just Me (recommended) for simplicity unless your Windows system is used by more than one user or developer. The default installation folder is in the user’s home directory such as C:\Users\libin\anaconda3.
Advanced installation options.
Don’t check the option “Add Anaconda3 to my PATH environment variable” to avoid potential conflict with previous installed software.
Do check the option “Register Anaconda3 as my default Python 3.8” if you want to set the bundled Python 3.8 as default in your system.
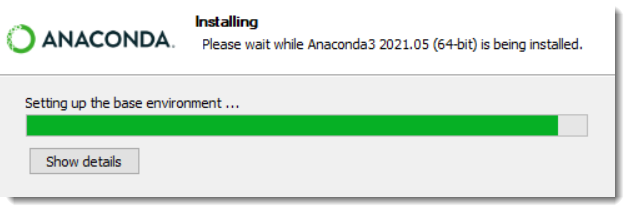
It will take a while to complete the installation.

When approaching the end of the installation, you will be asked if you want to use/install PyCharm, simply click Next to move on the next page. Uncheck both the options in the Completing Anaconda Setup window and click Finish to finalize the whole installation.
Activate Conda environment.
Set up a environment named test_env with Python 3. Since every environment exists individually as a whole, we need to install required packages for each environment respectively.
> conda create --name test_env python=3.8.8 tensorflow-gpu
> conda activate test_env
To shift back to the root environment base, simply run one of the following commands:
> conda activate
> conda deactivate
Update Conda and Anaconda.
Update Conda before updating Anaconda.
> conda update conda
> conda update ananconda
Update Anaconda to specific version, say, version 2020.11:
> conda update anaconda=2020.11(Optional) Installing pip package manager
> conda install pip(Optional) Reinstalling VS Code
Uninstall the main program.
Remove the main program, Microsoft Visual Studio Code (User), via a software uninstaller you prefer.
Delete supporting files.
Delete files in the following folders:
%UserProfile%\.vscode
%AppData%\Code
%LocalAppData%\Programs\Microsoft VS Code
In my case,
%UserProfile% is C:\Users\libin
%AppData% is C:\Users\libin\AppData\Roaming
%LocalAppData% is C:\Users\libin\AppData\Local
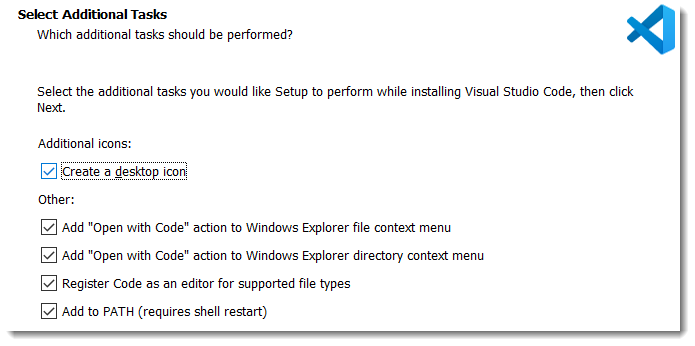
Download and launch VS Code.

Install Python and Jupyter extensions.
In Visual Studio Code, go to Activity Bar > Extensions > choose and install extensions “Python” and “Jupyter” respectively.


References
| [1] | How to install Anaconda on Windows correctly? |
|---|---|
| [2] | How to uninstall VS Code completely? |
| [3] | Install Jupyter in Visual Studio Code |