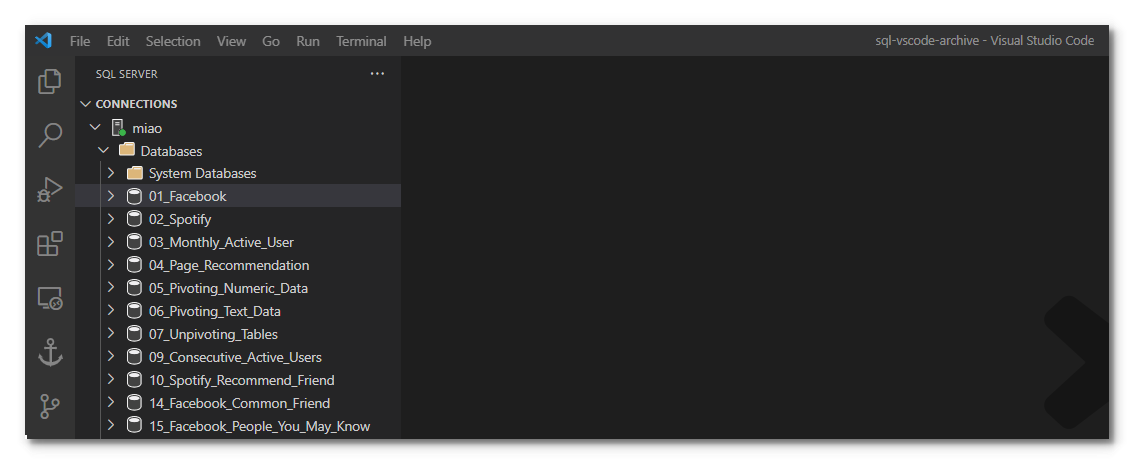
Running SQL Queries from VS Code
In this post I show the methods to run SQL scripts in Microsoft Visual Studio Code. The SQL languages I cover include PostgreSQL and MS SQL server.
MS SQL Server
Step 1. Checking if your SQL Server is running.
Click Windows key. Type services.msc and click enter. In the pop-up window, search for something prefixed by SQL Server under the Name column. Check if the server status reads Running.

If the server is in service, move on to next step. Otherwise, launch SQL Server Management Studio (SSMS) to confirm the accessibility of our working server.
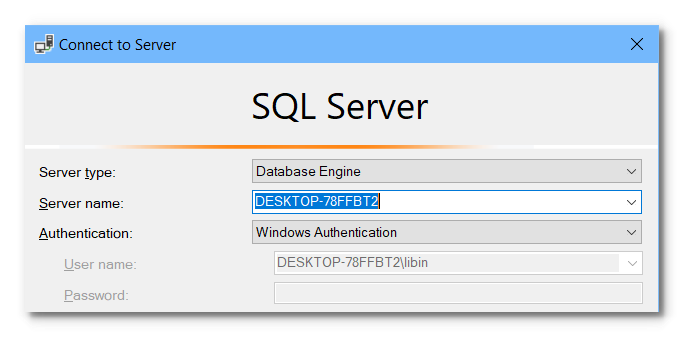
Click OK in the Connect to Server dialogue window. Then you should see the list of databases in your Windows machine like this:
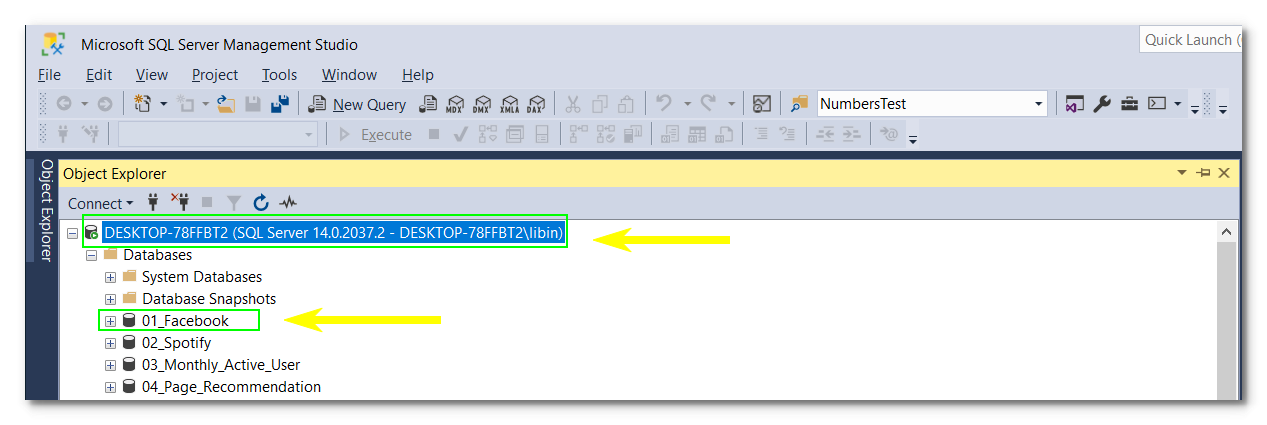
We will work on the database named 01_Facebook specifically later. Now we can move onto next step.
Step 2. Installing the VS Code extension mssql.
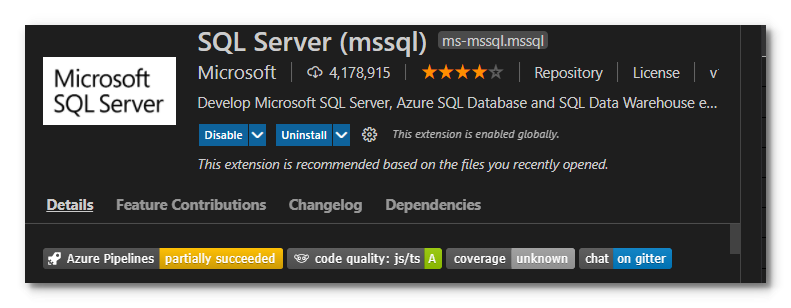
Step 3. Connecting VS Code to databases.
In VS Code, click on the SQL Server icon on the activity bar.
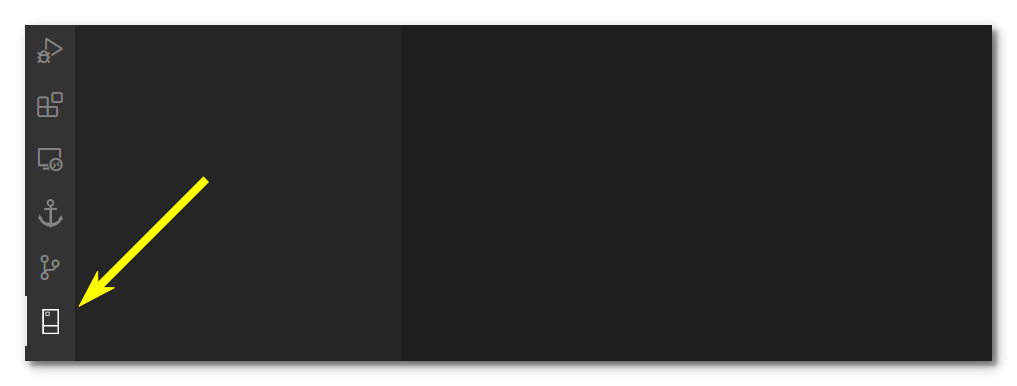
Click Add Connection and type localhost into the blank box that reads “Server name or ADO.NET connection string.”

Then type the name of database you like to connect yourself to. In our example, we use 01_Facebook as mentioned in Step 1. And then choose Integrated.
If you want to work across databases, then just enter
master.

Then enter a display name for the connection profile you prefer. In our example, I use My-SQL-Playground.

If everything runs smoothly, you should see in the side bar something like this:
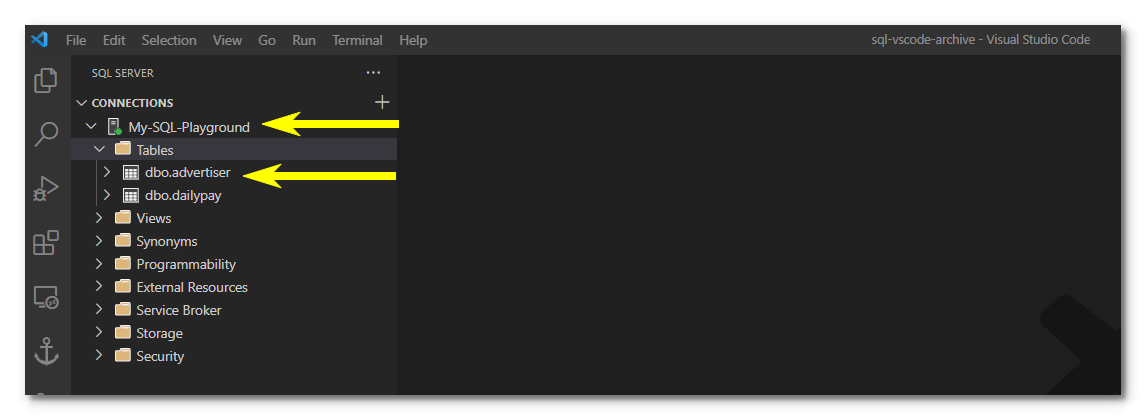
Under the profile name My-SQL-Playground, I can see two tables names dbo.advertiser and dbo.dailypay that are contained in my 01_Facebook database hosted in my Windows machine.
If you enter
masterinstead of01_Facebook, then you should see a complete list of databases shown:
Step 4. Writing and running a query
Create a new file with filename extension .sql. And test if we can run a query successfully. You may see the following warning message, just click Cancel to ignore it.

To execute a SQL query, press Ctrl + Shift + E or simply right-click and choose Execute Query. Choose a suitable option from the drop-down list. In our example, the option is My-SQL-Playground.

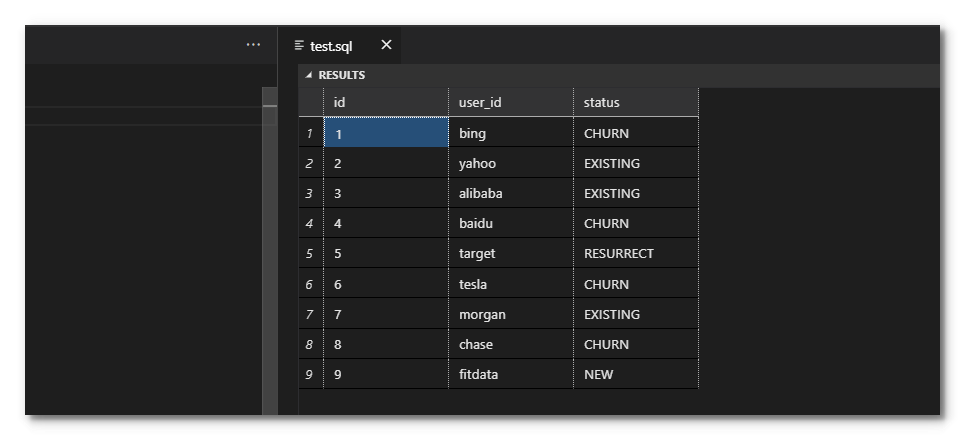
I can see the data stored in the working table. Done!
PostgreSQL
Step 1. Installing the VS Code extension PostgreSQL

Be sure the extension is enabled.
Step 2. The SQL Server extension has to be disabled.

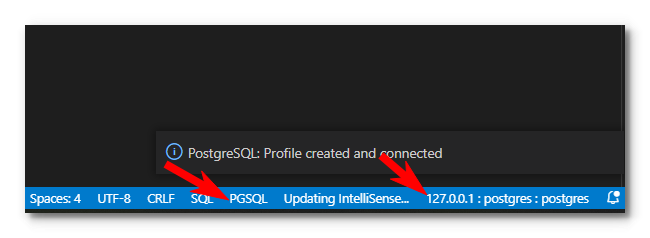
Step 3. Connecting to Postgres server.
In VS Code, press Ctrl + Shift + P. Choose PostgresSQL: New Query.

If the profile is not listed in the drop-down list, choose Create Connection Profile to create a new one.

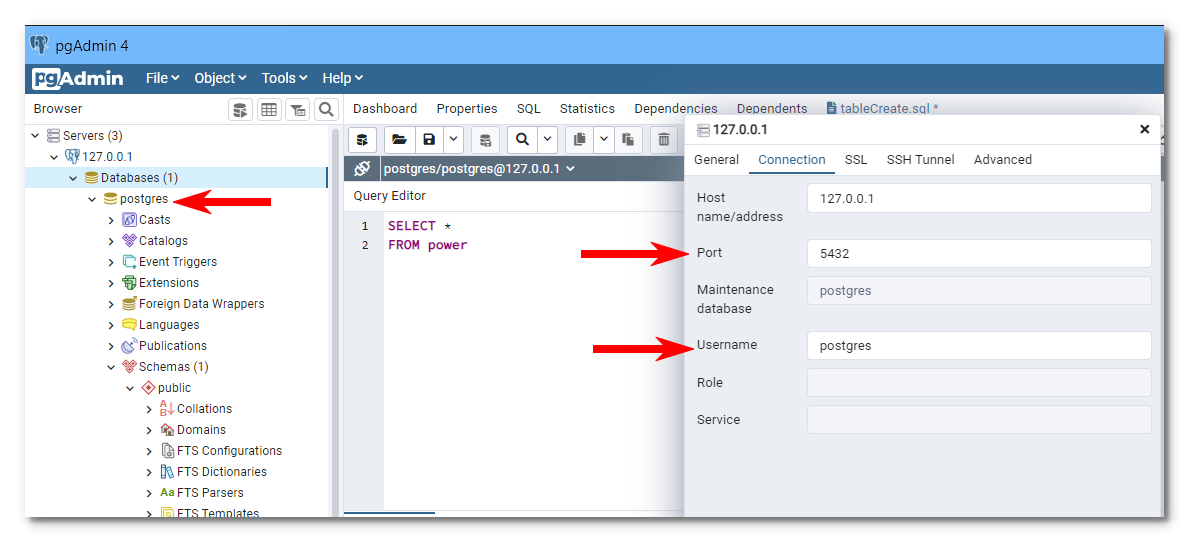
The name of the profile has to match the working Postgres server shown in the pgAdmin4 window. In the current case, it is 127.0.0.1.
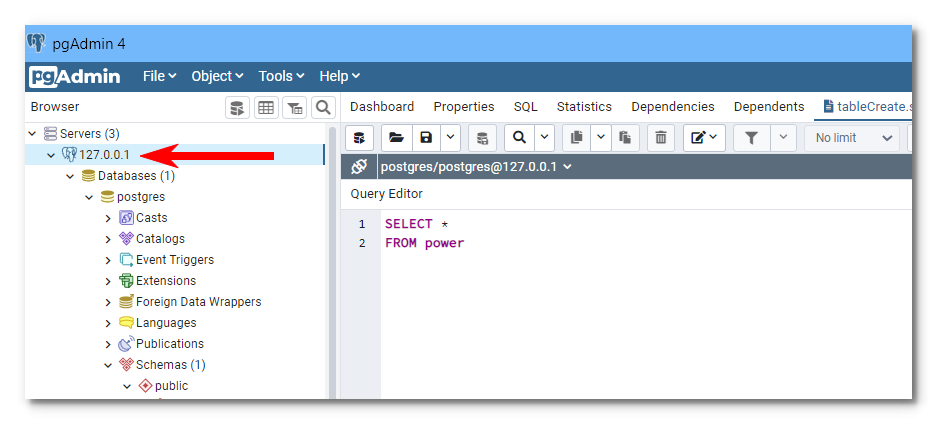
Type the profile name into the blank box that asks for server name.

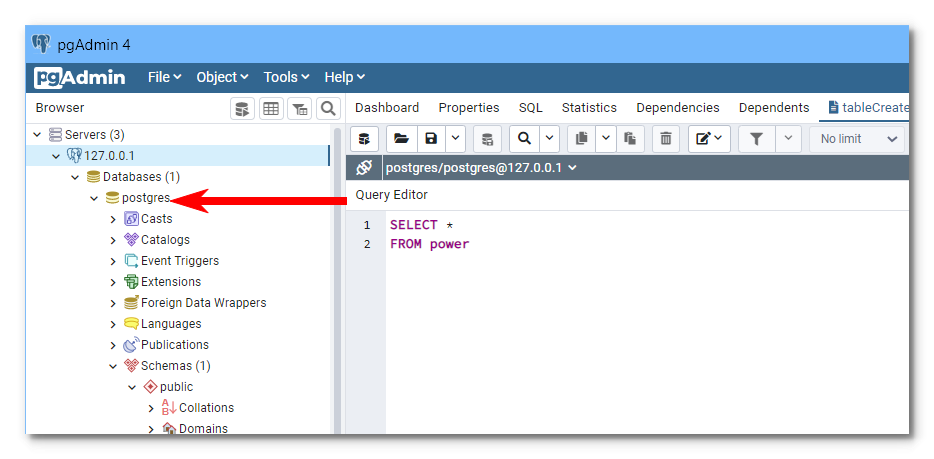

Right-click the database we like to work on. Click Properties to see the configuration of username and port.


Step 4. Writing and running a query.
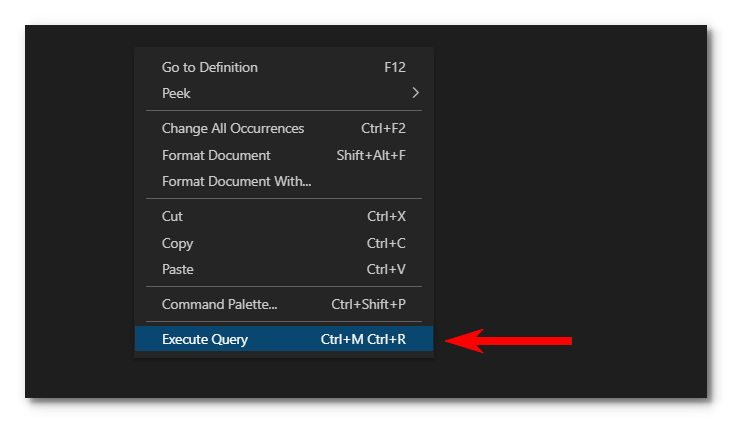
Create a SQL file and save it. Then execute the file by right-clicking your mouse and choose Execute Query.

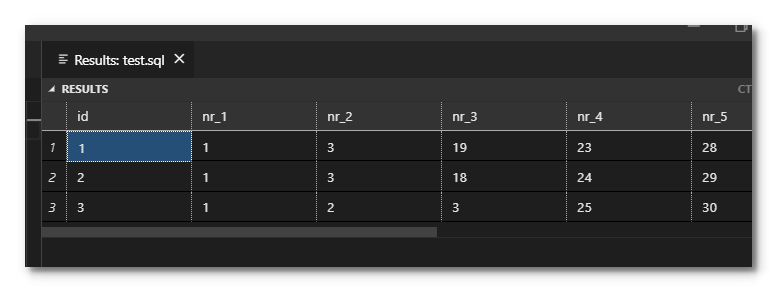
After entering your password and pressing Enter, you should see the outcome of the query shown in a new panel similar to the following table:
VS Code Extension: Database Client
Database Client for Visual Studio Code supports databases MySQL/MariaDB, Microsoft SQL Server, PostgreSQL, SQLite, MongoDB, Redis, and ElasticSearch. Here is the procedure to install the extension and create a new connection to a SQL database.
Step 1. Install the extension.

Two new extension icons will be listed on the activity bar.
Step 2. Launch pgAdmin 4 if your working database is chosen to be PostgreSQL.
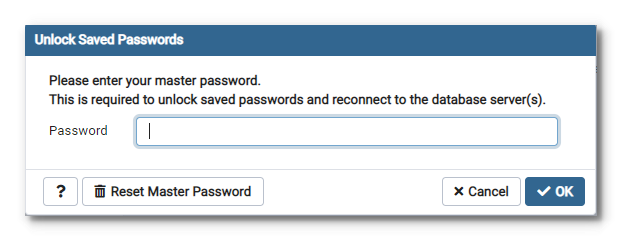
Put in a password you prefer to be used in the newly installed extension later.
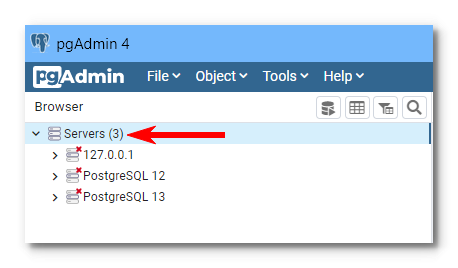
Expand the Servers line. And choose the server you like to make a connection with. For example, click on 127.0.0.1 and the password request window will pop up. Enter the password you just made up.
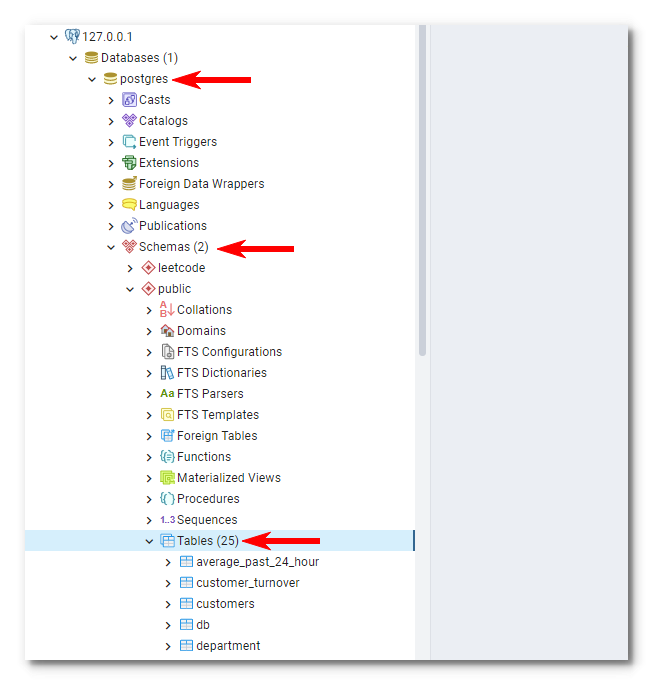
Click the following labels in order: Databases > Schemas > Tables.
Step 3. Click the Database Client extension icon to create the connection to the postgreSQL database in this case. And then click on the “cross” button in the EXPLOERE: DATABASE.
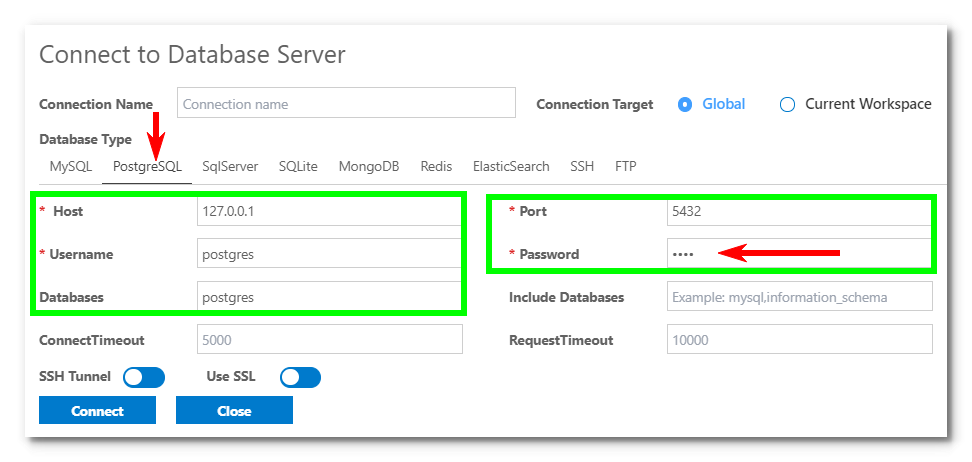
Then you should see the tables in the database.
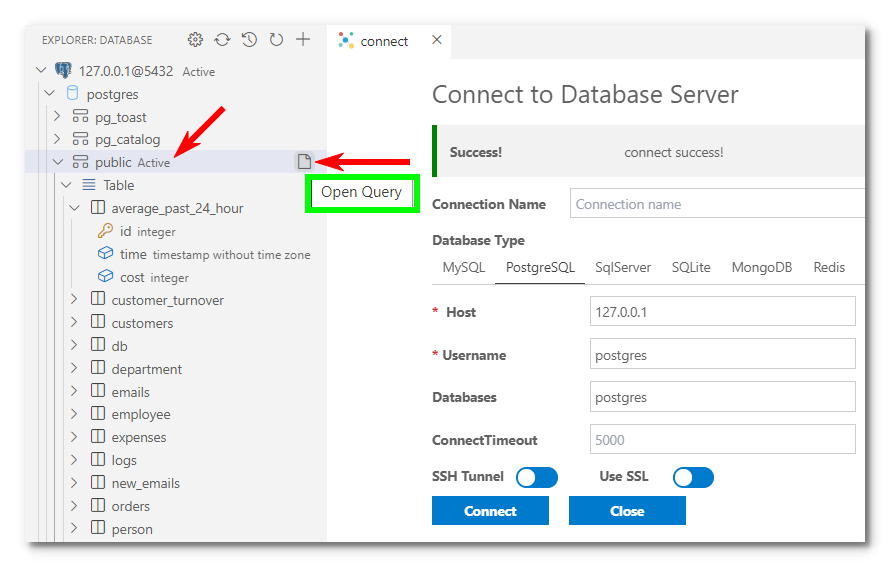
After clicking on Open Query, then you can write queries by calling tables under this database.
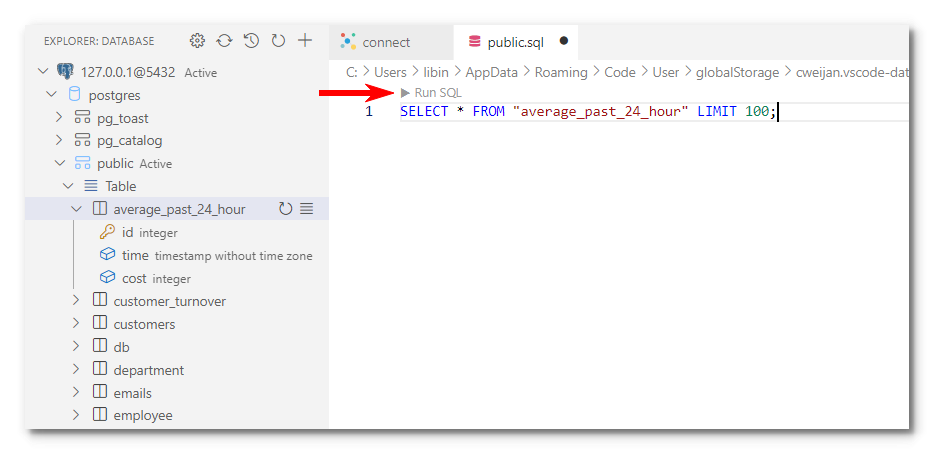
To run the script, just click on the triangle next to Run SQL.
